|
River Runner - Stitch & Glue - Part
2 |

|
| By Chuck Leinweber - Harper,
Texas USA |
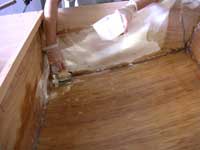
An epoxy and wood flour
fillet is applied to the corners of
the interior of the boat and 4 oz cloth
is applied right over the wet fillets.
|
|
|
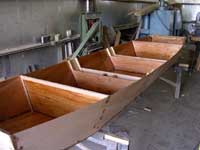 |
If you look closely you
can see that the glass only goes about
3/5 of the way up the insides of the boat.
That was how wide the material we had
was and it seemed like enough. |
|
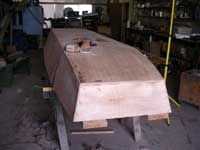
Once more we turned the
boat over. This time we sanded a nice
1/2" radius on the chines and generally
smoothed the bottom. Our Aluminum plate
was screwed into its recess with 3m
5200.
|
|
|
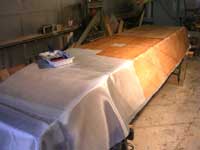 |
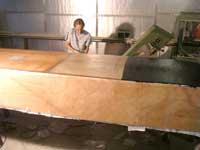
Next we glassed the bottom.
We used either 9 oz or 12 oz cloth. I
can't remember which. We ran it crossways
with tape under the joints (forground). |
|
Before the wet-out coat
had set up, we began a series of three
coats of graphite
powder mixed in epoxy. Our concentration
was about equal parts by volume.
|
|
|
 |
Next we glassed the bottom.
We used either 9 oz or 12 oz cloth. I
can't remember which. We ran it crossways
with tape under the joints (forground). |
|
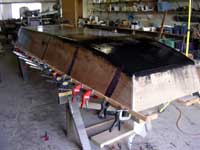
Before gluing the outwale
on, I did a little fairing. I decided
to try the System
3 QuickFair out and I have to say
it works great! It is easy to mix, gives
plenty of pot time, sets up quickly
once it goes and is super easy to sand.
|
|
|
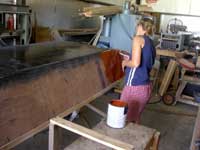 |
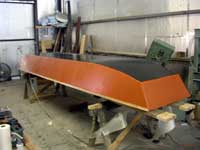
We have had good luck
with brand name Latex Porch and Floor
Enamel. Sandra does the painting and in
return, I let her pick the colors. I think
she did a good job. |
|
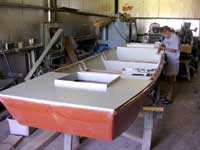
The paint is allowed to
dry for a couple of days before we turn
the boat over one last time to work
on the decks, hatches, seats, and inwales.
|
|
|
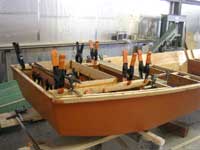 |
Jim shows decks over the
ends of the boat but we made them sealed
(except for hatches) storage-bouyancy
chambers. The Hatches have raised flanges
to encourage water to stay on the outside. |
|
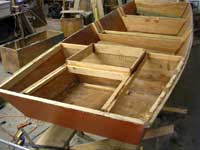
I glued in enough cedar
strips to attach the deck pieces to.
The decks could have been taped instead
but that would have involved a lot of
working in cramped places.
|
|
|
 |
Jim shows decks over the
ends of the boat but we made them sealed
(except for hatches) storage-bouyancy
chambers. The Hatches have raised flanges
to encourage water to stay on the outside. |
|
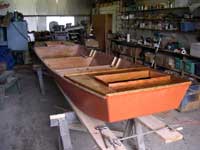
Decks on. There is a lot
of debate about epoxy-ing plywood without
glassing too. With hardwoods like this
Meranti, I think it makes a good undercoat
for the paint.
|
|
|
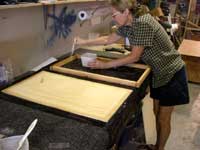 |
Here Sandra is applying
epoxy to the hatch frames. They are cedar
and the tops are some 3/16" plywood
left over from another project. |
|
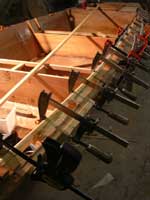
I like inwales with spacers
for a couple of reasons. 1) you can
get a stiffer over gunwale that is lighter.
2) you can tip the boat up on it's side
to empty water out the gaps. 3) you
get lots of places to tie gear in the
boat - this last was very important
to us for this expedition.
|
|
|
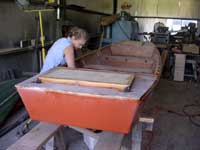 |
You can just see the nylon
hinges that allow the seat tops and
hatches to raise and give access to the
storage below eash. |
|
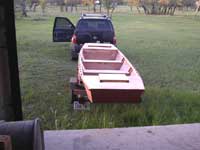
I know, I know, we aren't
finished yet. Well, we had made a date
to paddle a local river with one of
our companions for the big trip and
had to go.
|
|
|
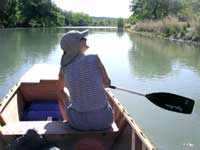 |
We learned a lot on this
outing. We learned the boat needed a skeg
and that it was very stable and well mannered. |
|
And of course, the main
thing that still needs to be done is
the paint on the inside. We used Polygard
non-skid on the inside bottom and
the rear deck and plain porch and floor
Latex everywhere else.
|
|
|
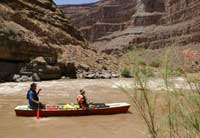
Finally, here is a shot
of us shooting the rapids on the San
Juan River. Stay tuned for more about
that trip...
|
|
|
|